
Camping & outdoor gear
Pack smarter — track camping gear without the markup creep
What should you know before buying Pack smarter — track camping gear without the markup creep?
Before buying, use this page as a shortlist and verify the final details on Amazon. Prioritize fit, current price, stock, seller, return window, warranty, and recent buyer feedback over one headline rating. That final check helps avoid stale prices, mismatched variants, and avoidable returns.
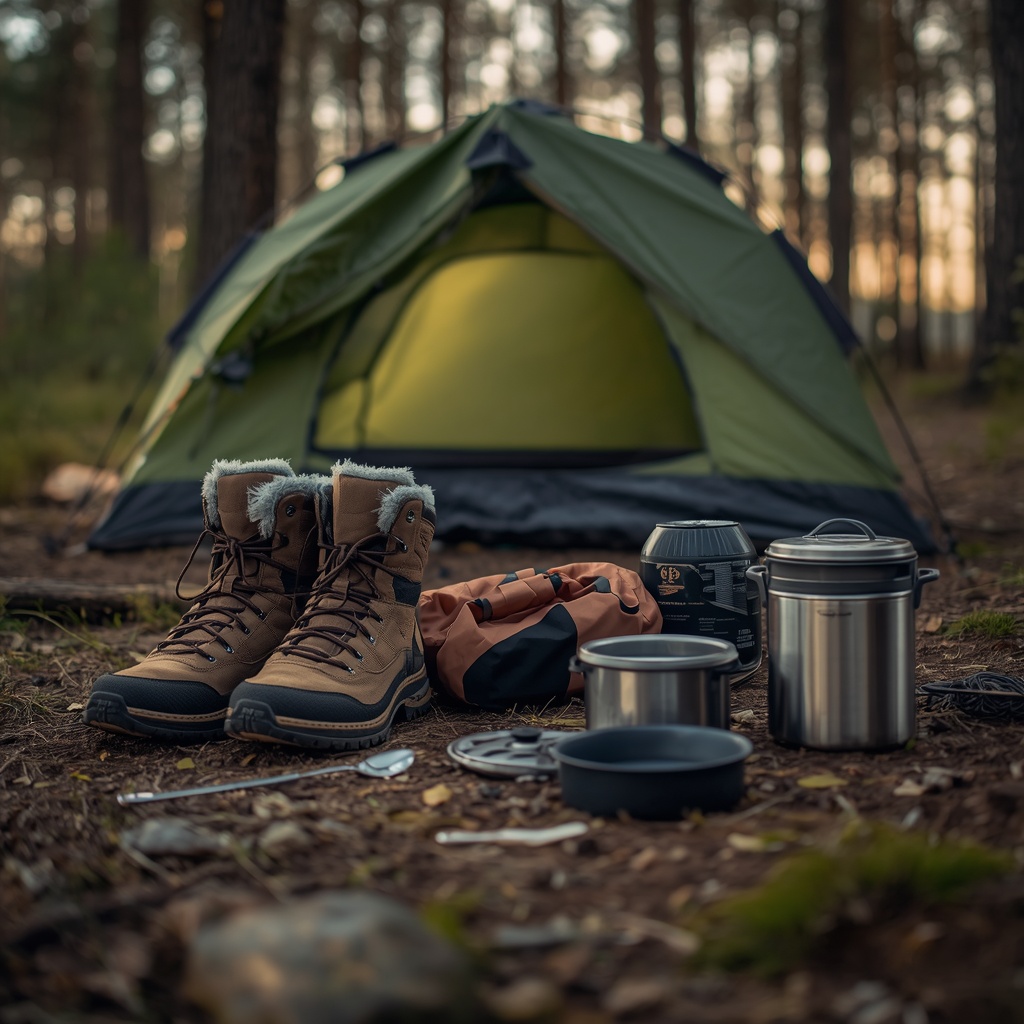
We compare tents, sleep systems, and camp kitchen gear on true trip cost — and flag when outdoor bundles inflate the basics you pack every weekend.
- No retailer sponsorships
- Weekly price checks
- 82+ articles tracked
- Staple price creep
- 18%
- Annual overspend
- $420
- Products tracked
- 10+
We track household staples you buy on repeat — and flag hikes before they become habit.
- Staple price creep
- 18%
- Annual overspend
- $420
- Products tracked
- 10+
- Independent watchdog
- Weekly price checks
- No retailer sponsorships
Editorial standards
"Independent editorial · No brand sponsorships · We name the gear, we name the budget swap"How we work →
Start here
Pillars we track every week.
Each pillar is its own watchlist: explainer → tracked products → cheaper swap. Three clicks to the answer.
01 · CampDeck
CampDeck Editorial Guide
How CampDeck researches gear, compares value, and names the budget swap.
82 related articles →02 · Backpacking
Backpacking Gear List: Essential Equipment for a Safe and Comfortable Trip
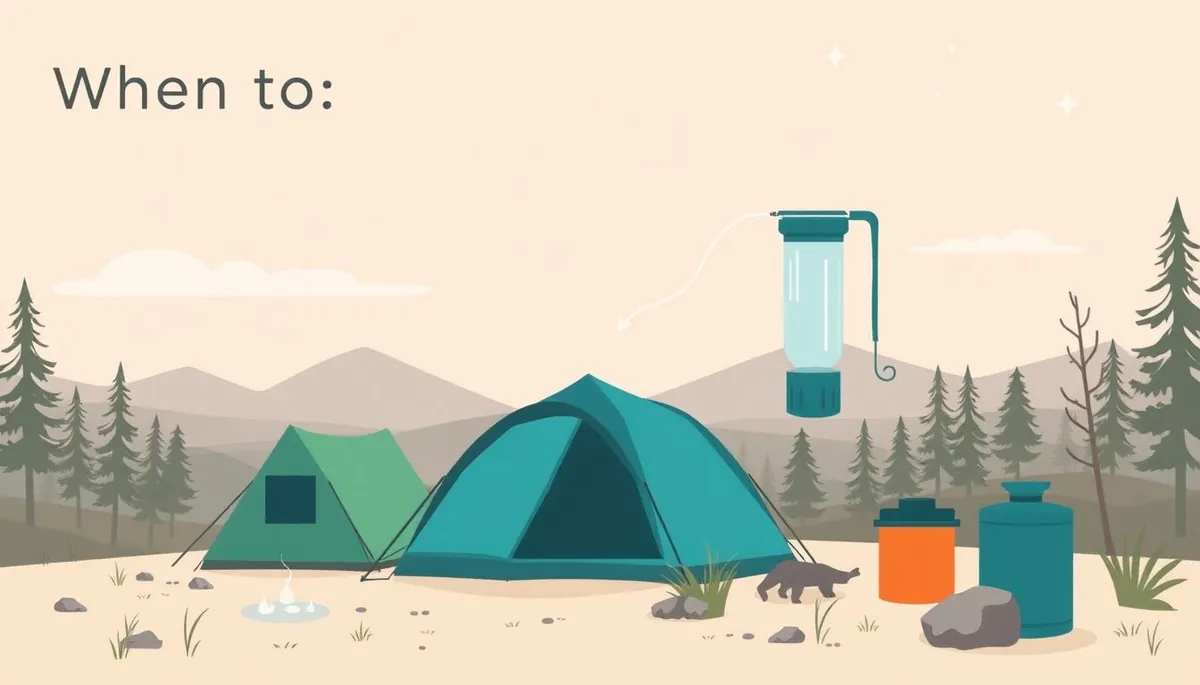
The ten essentials updated for modern backpacking: shelter, navigation, water treatment, food, and the gear actually worth carrying.
82 articles →03 · Camp
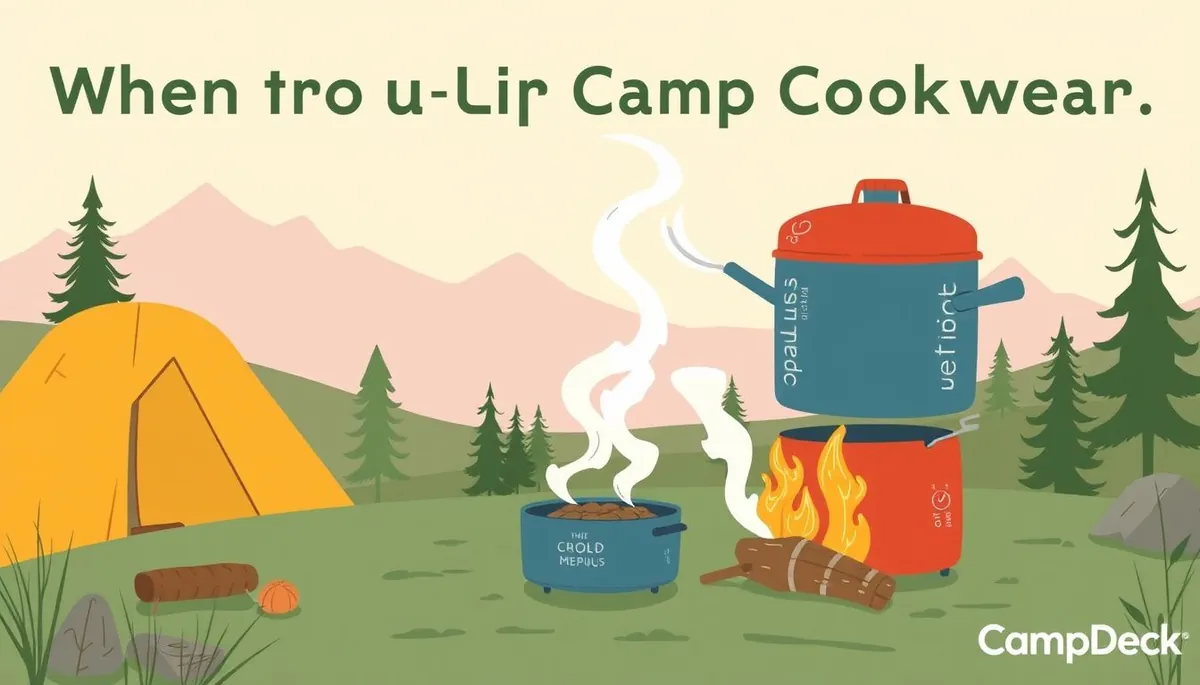
Camp Kitchen Guide: Stoves, Cookware, and Water Filtration for Every Budget
How to set up a camp kitchen by trip type: day hike, weekend backpacking, car camping, and multi-week expedition.
82 articles →04 · Tent
Tent Buyer's Guide: 3-Season vs 4-Season, Solo vs Group, Weight vs Comfort
How to choose a backpacking tent: when to go ultralight, when weather resistance matters more, and which brands to trust.
82 articles →Latest from the desk
Six things we published recently.
campdeck
when-to-upgrade-camp-cookware
campdeck
when-to-replace-your-water-filters-gear
campdeck
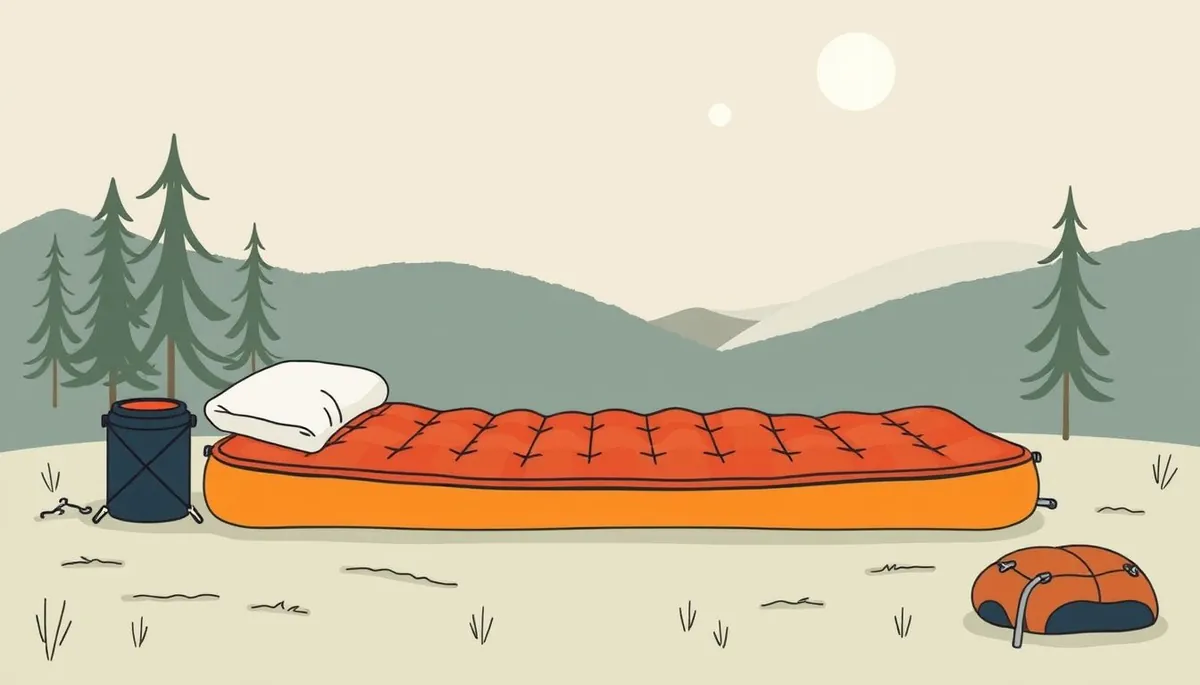
when-to-replace-your-sleeping-pads-gear-2
campdeck
when-to-replace-your-backpacks-gear-3
campdeck
water-filters-essentials-for-weekend-projects-2
campdeck
ultralight-camp-coffee-methods
Tracked this week
Three products, three price tiers, one verdict.
We watch the price history. Below: the cheapest defensible answer, the smart-buy middle, and the splurge at each price point.

Amazon Basics AA Batteries 48-Pack
Bulk alkalines for headlamps and remotes.

How we research: price-history checks via Keepa, cross-retailer verification weekly, raw data on the methodology page.
See the rig →
About the desk
Why CampDeck exists
Camping and outdoor gear for weekend warriors.
Articles published
82
All bylined, dated, reviewed quarterly.
Products tracked
10
Independent watchlist — every price logged.
In-depth guides
4
Pillar topics, updated as the field changes.
The CampDeck weekly
CampDeck weekly
One shrinkflation alert, one smarter swap, one price check — every week. No spam.
Newsletter signup coming soon.
Standards, disclosures, and how we make money.
Affiliate-link disclosure, research protocol, conflict-of-interest policy, and our correction log. All on one page. Read before you trust the rest.
More tools from MR Enterprises
These guides help with Amazon buying decisions. If you run products, teams, catalogs, or follow-up workflows, the internal software below can help with the next step.
- AI Affiliate Builderslaunch Amazon affiliate websites with real ASIN catalogs
- PriceScouttrack price and competitor signals
- ScopeSuitescan collectibles, cards, comics, media, and paper assets
- SolutionStorepackage repeatable business solutions
- CaseMorphturn product ideas into AI-assisted case designs
- ShiftDeckrun shifts, time clocks, kiosks, and labor records
- RoutineSignalbuild daily plans and accountability nudges
- SenderBeaconsend lightweight customer and lead follow-ups
- WeakSpotspot workflow and page gaps before they cost money
- LeadFloworganize prospect and affiliate lead flow
- GrantBridgeprepare grant workflows and funding research
Fast Amazon Shortlist
These picks come from the current Campdeck guide set and keep the affiliate tag attached.
- Refill base Dr. Bronner's Castile — Bulk Refill Base Multi-use cleaner base. From ~$18 Shop on Amazon ↗Current price and availability open on Amazon.
- Bulk staple Arm & Hammer Baking Soda 5 lb Bulk bag for cleaners. From ~$6 Shop on Amazon ↗Current price and availability open on Amazon.
- Plastic-free Dr. Bronner's Pure-Castile Bar Soap Concentrated bar soap. From ~$5 Shop on Amazon ↗Current price and availability open on Amazon.
- Low-waste Native Sensitive Deodorant Aluminum-free stick. From ~$13 Shop on Amazon ↗Current price and availability open on Amazon.
- Bar swap Ethique Heali Kiwi Shampoo Bar Solid shampoo bar. From ~$16 Shop on Amazon ↗Current price and availability open on Amazon.
- Reuse Bee's Wrap Beeswax Food Wrap 3-Pack Reusable wraps. From ~$18 Shop on Amazon ↗Current price and availability open on Amazon.
- Western Mountaineering Versalite 10F sleeping bag check price on AmazonCurrent price and availability open on Amazon.
- Marmot Trestles Elite Eco 0 Sleeping Bag check price on AmazonCurrent price and availability open on Amazon.
Get the checklist
Need a shorter call? Send the use case, budget, and must-have features, and we will point you to the most relevant page on campdeck.app.
More Tools From MR Enterprises
These buyer guides focus on Amazon decisions. If you run products, teams, catalogs, or follow-up workflows, these internal tools can help with the next step.
- AI Affiliate Builderslaunch Amazon affiliate sites with real ASIN catalogs
- PriceScouttrack product and competitor price signals
- ScopeSuitescan collectibles, cards, comics, media, and paper assets
- SolutionStorepackage repeatable business solutions
- CaseMorphturn product ideas into AI-assisted case designs
- ShiftDeckrun time clocks, kiosks, shifts, and labor records
- RoutineSignalbuild daily plans and accountability nudges
- SenderBeaconsend lightweight customer and lead follow-ups
- WeakSpotspot gaps before a workflow or page breaks
- LeadFloworganize prospect and affiliate lead flow
- GrantBridgeprepare grant workflows and funding research


